The My Movie editor, tool by tool
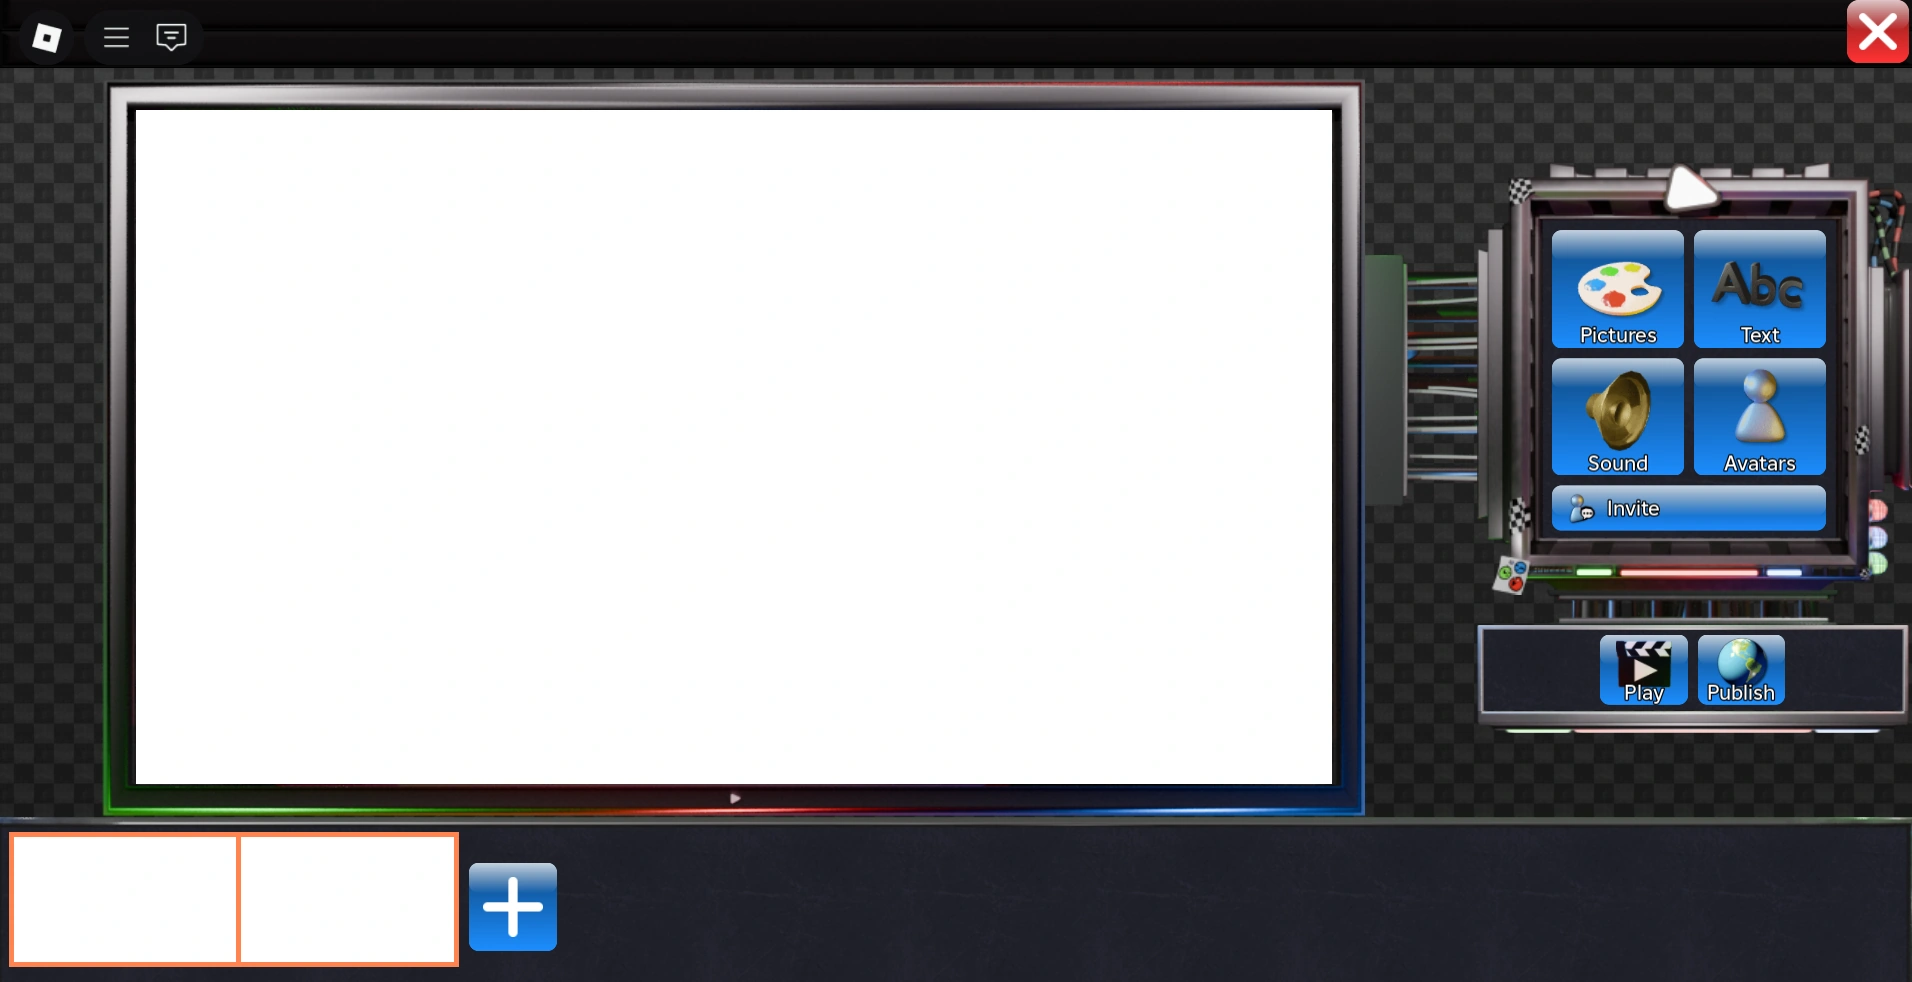
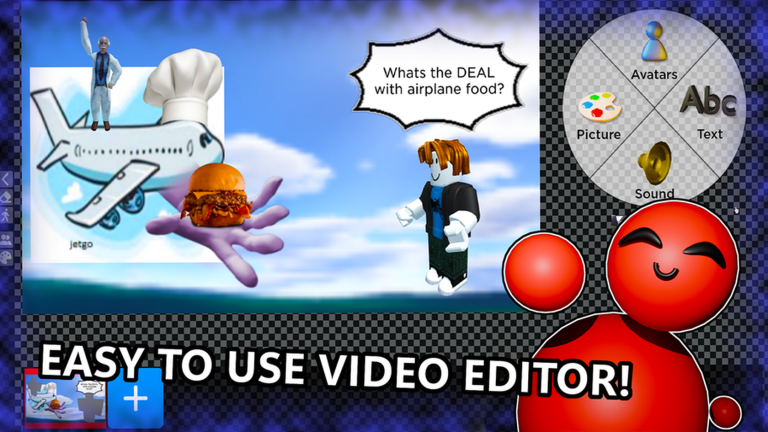
The editor opens from the Create button. The big panel is your video screen; the bottom strip is the timeline of clips. Tools on the panels add pictures, text, avatars, backgrounds, music and stickers to the selected clip.
What the editor is
The editor is where you build your movie. It looks like a program from an old computer class: a big video screen, a strip of clips under it, and tool panels around the sides.
One idea makes everything click: everything belongs to a clip. A clip (also called a slide) is one moment of your movie. Select a clip first, then the tools change that clip.
The three parts of the screen
Press Create at the bottom of your screen. The editor opens on your current draft.
- Video screen — the big panel in the middle. It shows the clip you have selected.
- Timeline — the strip along the bottom. Every clip sits here in order. Click one to work on it. The + button adds a New slide, or Copy slide clones the current one.
- Tool panels — the boxes around the sides. What you add lands on the selected clip.
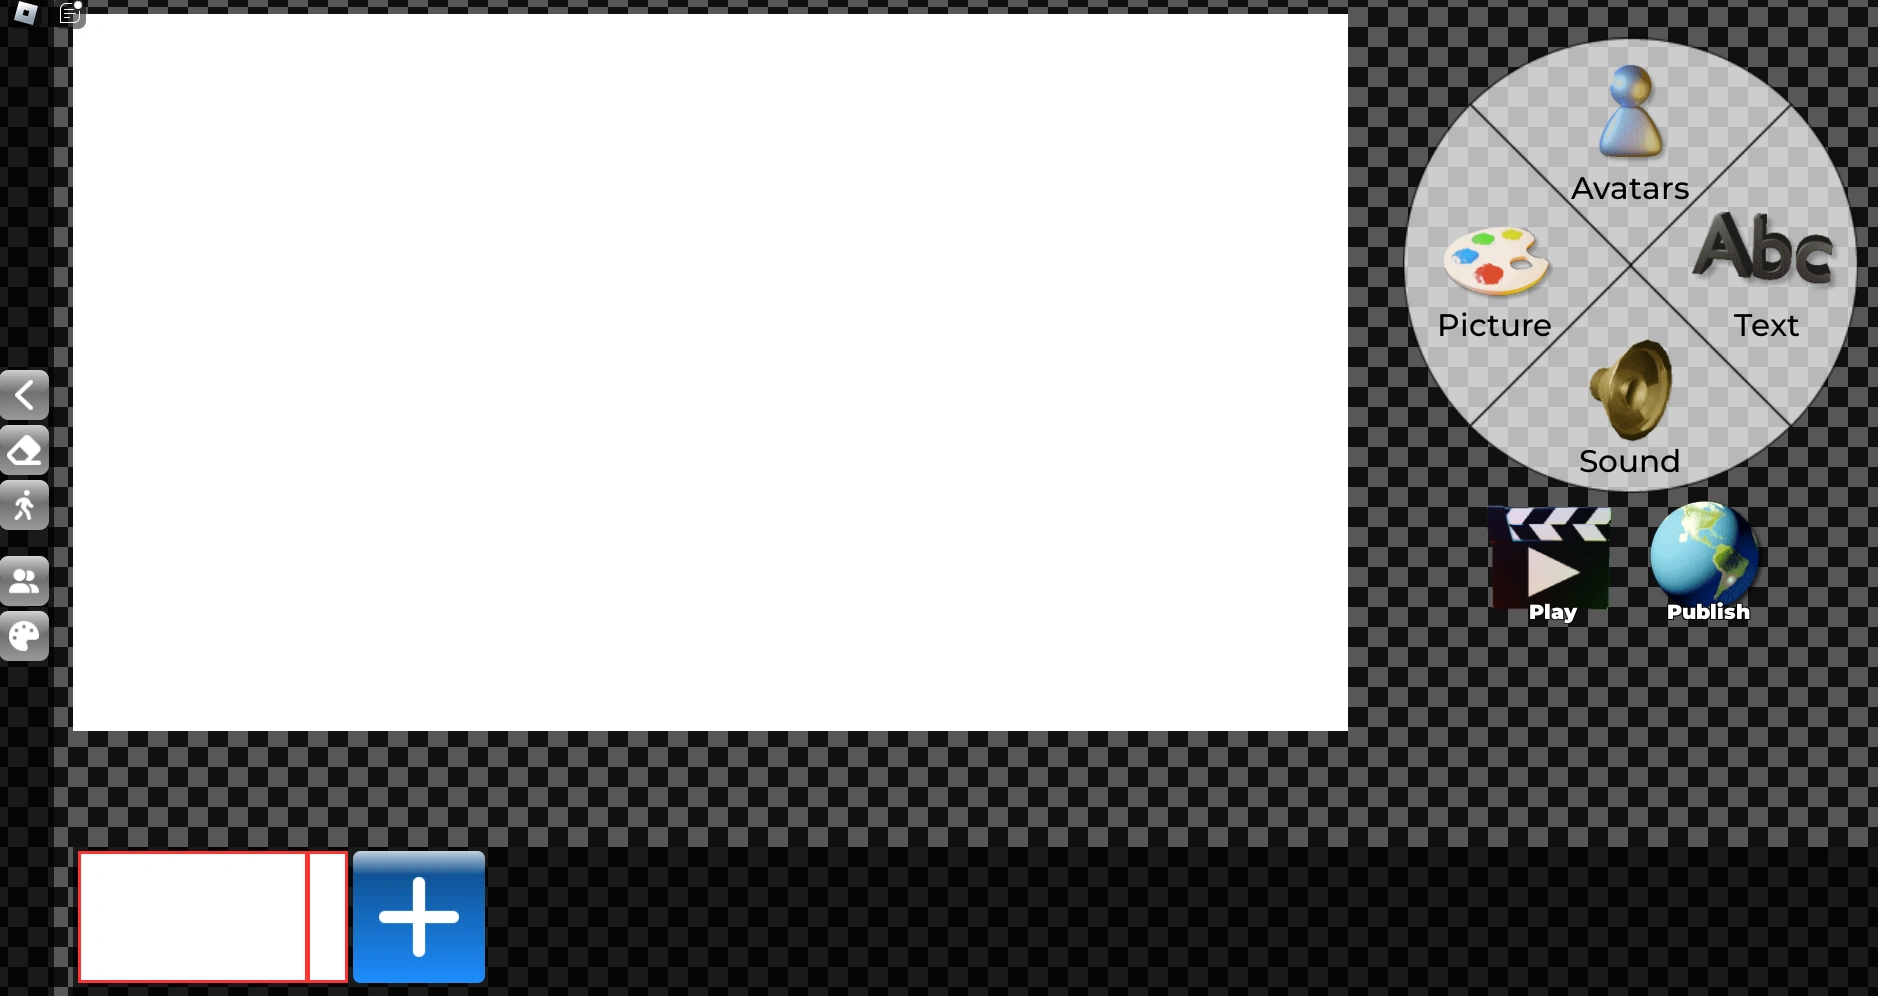
The dark look in this screenshot is a bought theme — the default editor is lighter. Same tools either way; themes are cosmetic.
Every tool, and when to use it
| Tool | What it does | Use it when |
|---|---|---|
| Pictures | Adds images — uploads and the game's own art | You want a photo or drawing in the scene |
| Text | Titles, captions and dialogue | The watcher needs to read something |
| Avatars | Puts characters (and poses) into the clip | Someone should be doing something |
| Backgrounds | Swaps the backdrop of the scene | The scene moves to a new place |
| Music | Attaches a track to the clip | The slide should not be silent |
| Stickers | Small decorative overlays | Highlights, jokes, reaction beats |
| Effects | Visual effects on the clip | Big moments — use fewer than you want |
| Animate | Makes things move — 15 styles | A still picture should come alive |
| Resize | Scales what is inside the clip | Fixing the layout |
| Select | Picks an element to change | Before any of the above |
| Delete | Removes an element | Cleaning up mistakes |
The order that saves rework
Build in this order and you rarely have to redo anything:
- Slides first. Decide your scenes — three to eight is a good first film — and add all the empty slides before filling any.
- Backgrounds next. Set each clip's background before you place anything on it.
- Then people and things. Avatars or pictures — one main subject per slide.
- Then motion. Animate what should move. One animated thing per slide.
- Text after the picture stops changing.
- Music and effects last. Score the finished movie, not a draft.
Animate, explained properly
Press Animate. The game's helper character, Andy, appears, and your cursor turns into a grabbing hand.
- Pick an element on the clip.
- Choose one of the 15 styles — Back In, Back Out, Bounce and friends.
- Set the motion and watch it on the video screen.
There is a Help button right there that replays the game's own animation tutorial. It is short and worth one watch.
Two rules that save time:
- Animate one thing per slide while you are learning.
- Preview every change. Broken animation is easy to see and hard to describe.
Before you press Publish
- Play the whole movie once, start to finish. Watch the volume more than the visuals — a loud clip next to a quiet one is the usual flaw.
- Check the first three seconds. That is your trailer; viewers decide there.
- The rules apply to everything you publish: no spam, nothing that dodges the chat filter, nothing outside the Roblox Terms of Service.
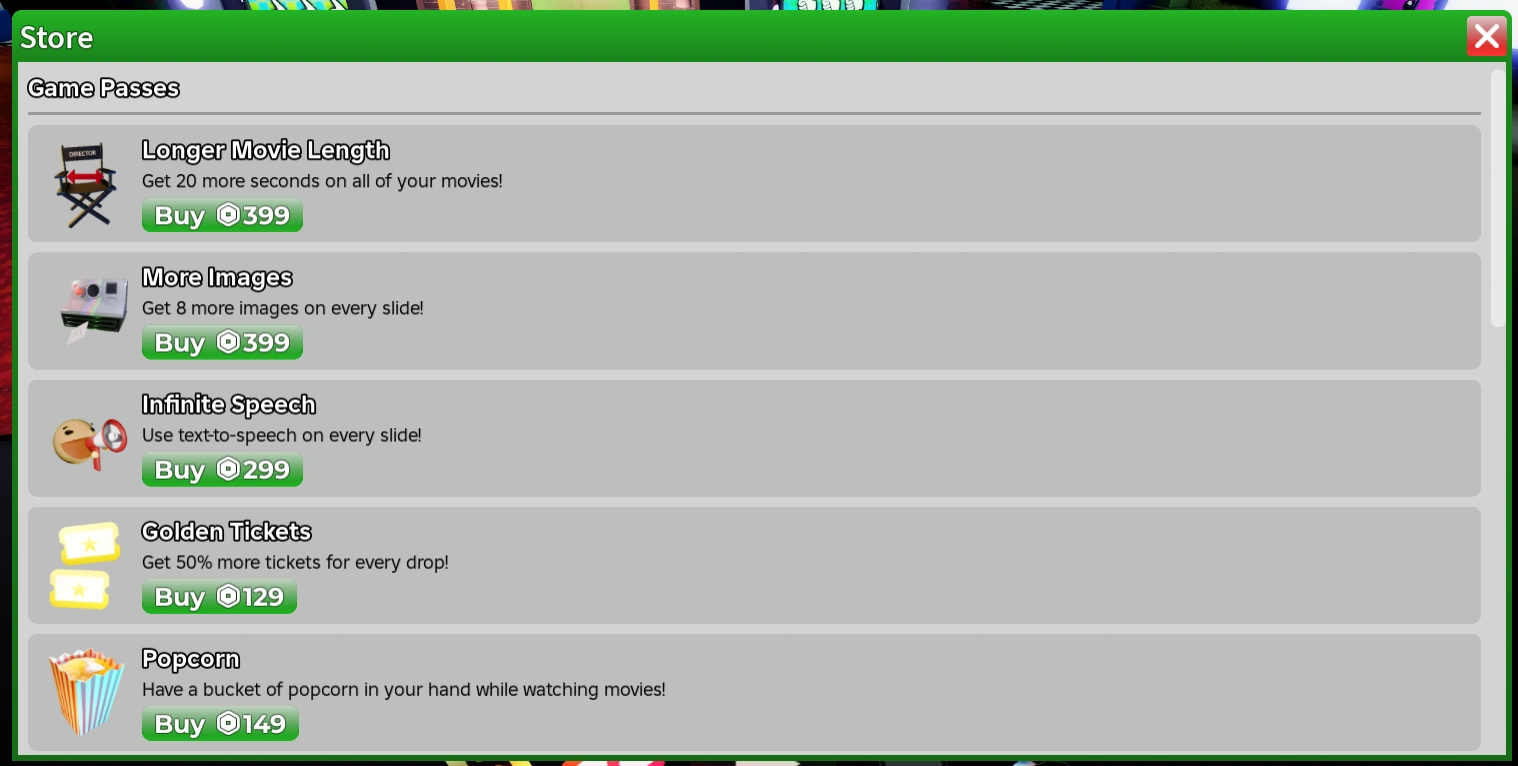
Related guides: Music IDs & audio for sound, 10 tips for better movies for pacing, Your first movie, step by step if you have not made one yet, and Tickets and game passes if you want to unlock tools faster.